Pressed Flowers and Apple Rings

Just recently we celebrated our parents 50th wedding anniversary and I made bookmarks for everyone in the family and everyone at the party.  On the front I had the dates, Happy 50th Anniversary and a picture of Mom & Dad.  On the reverse side I had all the kid’s names and listed out all the members in each of their familes … laminated the bookmarks and was thrilled at how they turned out.  I went a step further and used pressed flowers (real flowers I had flattened and dried in a phone book) and made these nifty bookmarks …
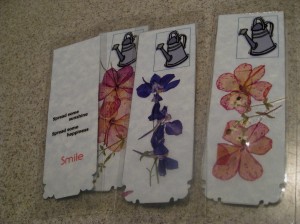
4 bookmarks

I typed up a saying for the back on these.  Any type of personalization can be added; names, dates, birthday wishes, etc.  Use them as favors at a party or wedding or send individually to your favorite people in a card.
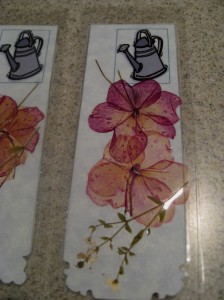
PF Bookmark Laminated pressed flower bookmark

I used a Fiskars paper punch on the corners to give the bookmarks a classy look.
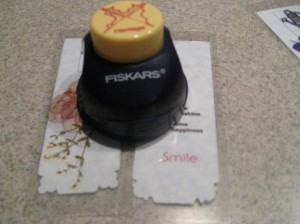
fiskar paper punch

In a previous post I mentioned an apple pie filling I made and since it still is apple harvest time, I did purchase lots more apples.  This time I decided to make Spiced Apple Rings and once again I used Ball’s Blue Book for the recipe.  My only dilemma was I used the wrong type of apples – they were somewhat mushy.  I need to study up on the correct apples to use for preserving and baking purposes.  The Jonathan I used for the apple pie filling was right on – the apples remained firm and the taste was excellent.  For the rings I used Cortland and although they have a great tart taste, the firmness wasn’t there (had I known, I would have used a different apple).  If anyone has a recommendation on which apples to use, I would greatly appreciate it.  I will show you the steps for the Apple Rings – first I cored all the apples with this apple corer (great product, worked very easily).
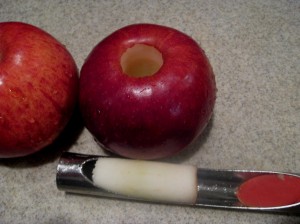
cored apple Cored apple which I then cut into thin slices ..
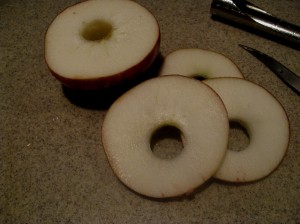
cut up cored apple

I placed all the cut up slices in a mixture of water and lemon juice so the apples wouldn’t turn dark as I was cutting the remainder.  I made up a bag of spices to use for the syrup – 4 cups water & 4 cups sugar and I added a few drops of red food coloring.
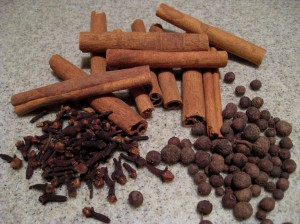
spices

Cinnamon sticks, cloves and allspice tied in cheesecloth and removed before canning the apple rings.
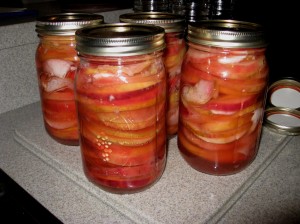
canned apple rings

They tasted Great – and these rings did hold up fairly well.  I have a bowlful that is more like chunky applesauce that I will refrigerate and add to oatmeal and/or ice cream in the next few days.  I will be on the lookout for the firmer apple …. the book did suggest using several different varieties at one time.

One last note – I have all my garlic planted …. yeahhhh and started another blog GarlicnHerbs to keep track of the progress and to share recipes and garden tips!

That Apple Pie and The Gourds

The apple pies that I made were totally out of this world delicious!  I baked up two using the frozen apple pie filling I made a few weeks back and I plan to freeze up some more while all the apples are in season!

Homemade apple pie 2  Yum!

I brought in some gourds while we were down south and even though I read you can leave them on the vine during the winter to dry, I felt better bringing them in to dry on a rack (I am worried about the critters snacking on the gourds before they are fully dry).

Gourds down south

gourd on wire rack Drying on a rack

The wire rack will allow air to circulate around the gourds as they dry.  They will take several months and mold will form on some and it simply needs to be washed off with a sponge and water.  These gourds will dry nicely. 

On the other hand ……. When we arrived at our other home we realized frost had hit and it hit hard!  My cousin said at least 3 times while we were away and I had no idea it would; rather early this year.  So the gourds I had growing here … well, I brought them in and fashioned them around the fireplace for decoration.

Gourd fireplace

Not all of them will hardened up and be ready to craft on – the ones that weren’t done growing will rot and be unusable.  When the frost hit they were not all at the stage where they were done growing.  If they had finished this process the next process of curing would begin.  Curing is the time where the gourd hardens up and this takes several months – the gourds will lose all color and become light tan.

Published in: on October 18, 2009 at 7:10 pm  Comments (1)  
Tags: , , , ,

Crafts from the Garden

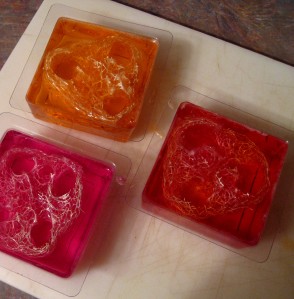
I have been busy crafting – luffa soap, a broom and mini gourd flowers in a vase!  All these items come from my growing efforts in the garden.  Luffa grows on a vine and can take over an area so next year I will be using the trellis idea and try to contain all the vines .. vines from the luffa, vines from the gourds and also my edibles such as watermelon and cucumber and whatever else happens to be planted in the gardens.  Luffa grows like a cucumber and the outer skin needs to dry out and turn brown before it can be peeled and the luffa inside revealed.  The seeds are then removed and the luffa can be used as is or cut into sections.  I used pieces and inserted them in soap molds along with melted glycerin soap, fragrance and color.

Luffa soap in molds Luffa soap in molds
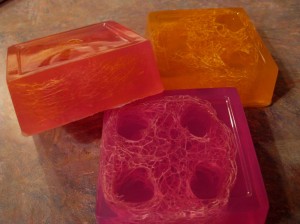
Luffa soap Finished soaps

The soaps make a great gift and are really effective on dry skin or used on gardening hands!  They are too rough for small children or those with sensitive skin – I use them strictly on my hands and feet.  Luffa on its own is quite soft once wet and can be used much like a sponge.  I love my Luffa!! 

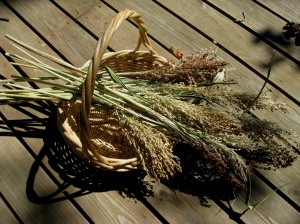
Next I experimented with the Broomcorn I grew and attempted to make a broom.  I did read that a nice sturdy broom will need about 60 stalks to complete, but since I only grew about 20 stalks my broom is a bit sparse.  I figure I will use it for cobwebs in the barn.

Broomcorn in basket Harvested broomcorn

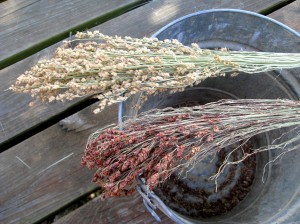
I let the broomcorn dry for a couple weeks and then deseeded the upper portion of the stalks where the seeds grew.

Deseeding broomcorn

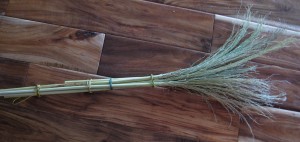
Finished broom Finished broom
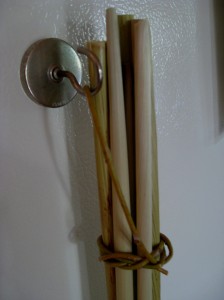
There’s a shorter stalk in there as you can see but it was secured quite well along with the others.  I actually used willow branches to tie the stalks together.  At first I used twine but it wasn’t as natural looking as the willow branches (the green tie is the twine).  Willow branches need to be worked with while they are still fresh so you can bend them easily.  I added a loop for hanging …

Hook on broom

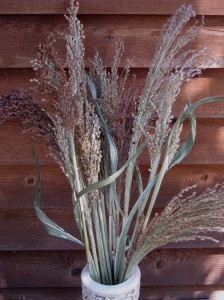
Broomcorn is also very attractive in dried flower arrangements and wreaths – I will be growing much more next year!

Broomcorn in vase Broomcorn in vase
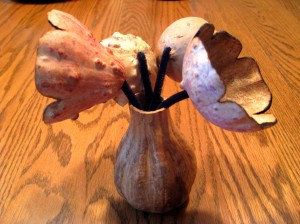
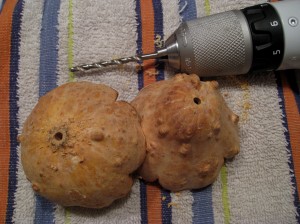
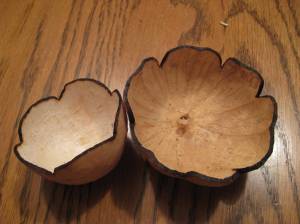
Lastly, I had some more fun with my mini gourds.  I cut them in half and shaped some petals for flowers.  After drilling a hole and cleaning the inside, I added some color and also woodburned the tips of the petals.

Drilled gourd flowers

IMG_7561

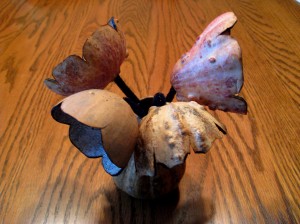
I used pipe cleaners for the stem and another mini gourd for the vase.  They came out pretty cool; don’t ya think?

Mini flowers in vase 2

Mini flowers in vase 3